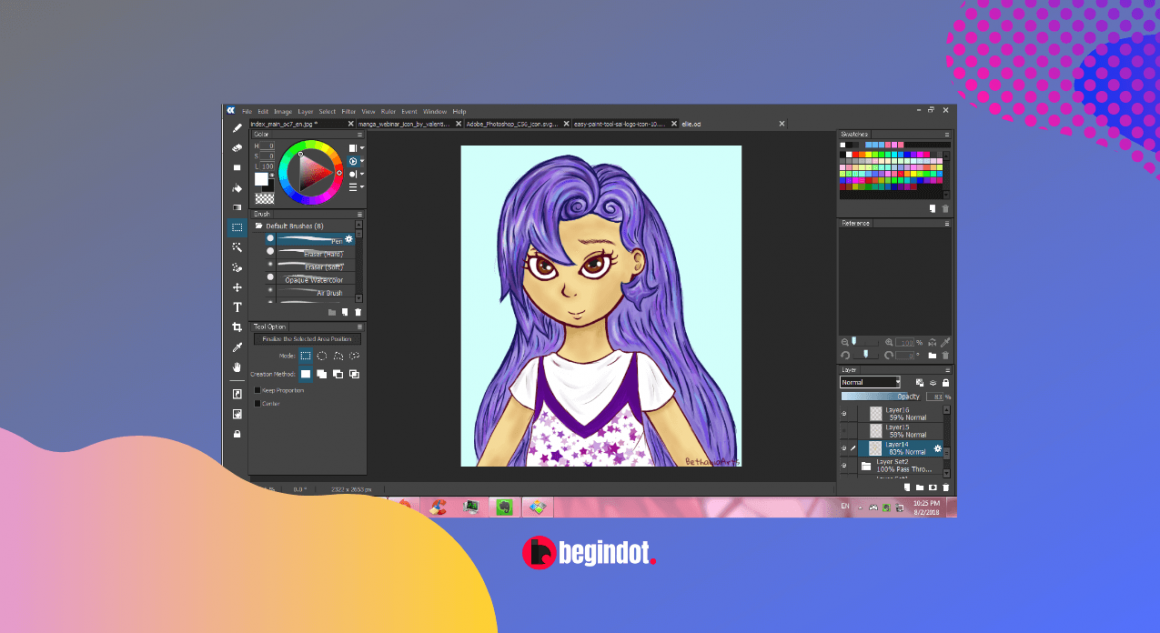
At first, it can be daunting getting a new art program, particularly if you have never used one before.
The Paint Tool Sai is a digital painting and drawing program originally created in 2004 for Windows.
This application was first released in Japan with a complete Japanese interface, which was translated later on to English and some other languages.
The program is perfect for anybody who is new to the software and intents to begin painting fast. The Paint Tool Sai free was quite popular among artists because of its vast range of tools and simplicity.
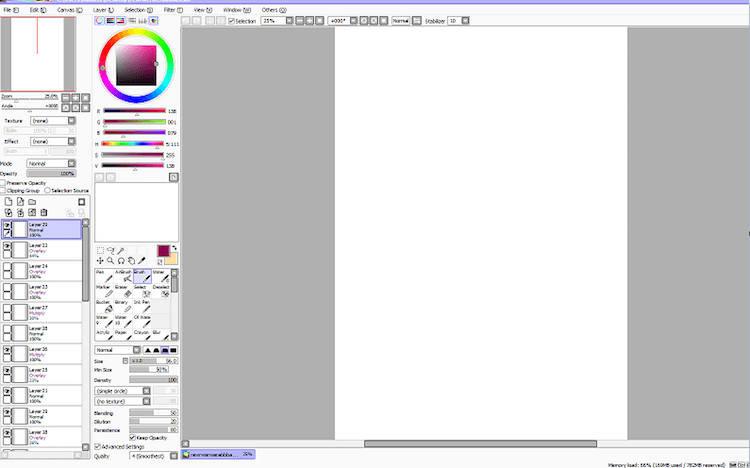
The Editing Panels
The program has two main panels which users can work with – the tool and color panel found on the right side and the layer panel on the left-hand side. The location of the panels can be changed in the Window.
It also has the Quick Bar located at the top to enable further controls.
The “step back” can help you when you want to undo a recent action. This step can be used over ten times, so you should have no worries whenever something goes wrong.
When you are drawing from different angles, you can rotate the canvas. The return the rotation and view back to default, make use of the “Reset’ button”. When you flip the canvas, you’ll see a fresh view of your work and locate possible errors.
Understanding the color panel
All color options can be accessed from the top bar in Window or the Color and Tool panel.
- The color wheel: is a group of color hues in a circle that shows the relationship between each color
- RGB slide: makes it possible to manipulate colors on a color wheel by changing their value and hue
- HSV slider: means Hue, Saturation and Value. This tool can change these color properties
- Color mixer: this tool makes use of grayscale to alter values, which can be handy when drawing first with grayscale then applying color later
- Swatches: this tool makes it possible for you to save up your favorite colors. for this to be possible, first select your color of choice then right-click on a swatch and select swatch
- Scratchpad: you can combine various colors using the scratchpad without worries, as it will not affect your main canvas
How to use the Paint Tool Sai
1. Create your image
After you have opened the program, hover over to the “File” option on the top left of the window and click on “New”.
2. Select the size and name of your new canvas
In a box labeled “Name”, type in the name you want your image to bear and choose the height and width in the boxes labeled “Height” and “Width”.
3. Select a default brush
You can play around with the available brushes to choose the one that best fits you. Basically, the brushes are:
• “Pen” which doesn’t blend because it is solid
• “Brush” is similar to the pen but it can blend with any color under it
• “Eraser” comes in handy if you intend to remove a color
• “AirBrush” is like the normal “Brush” but it has edges that are blurry
• “Water” is hardly any color but can be used to blend two colors together without the addition of any
4. Add the brush
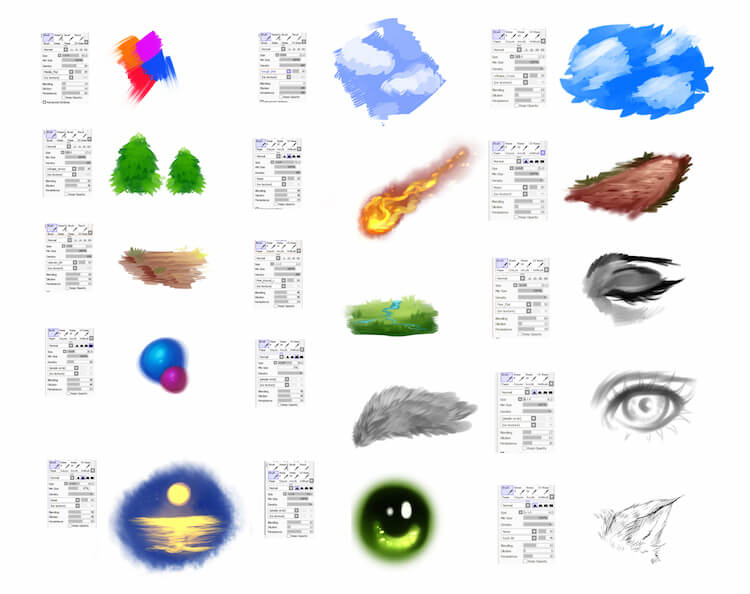
You can add your own custom brushes by scrolling underneath the default brushes in the empty gray boxes.
5. Change the settings of your brush when required
Sometimes, you’ll need to change the default setting of the brush. That is possible from the settings underneath where you choose the brushes.
6. Select a color
Way over the brushes is a rainbow circle having a square on the inside. Click anywhere to set a color and also change the brightness and saturation.

7. Make use of layers
At the side of the Window, you’ll notice a gray box that has a purple box inside which reads “Layer 1”. Layers are similar to painting on a piece of glass and then putting the glasses on top of each other to create a picture.
8. Include layer effects
Right over the layer option is a drop-down menu called texture, mode, and effect.
Also, you’ll notice a slider used for opacity and other checkboxes. You can adjust any other those effects to your taste. Once you’re done painting, deselect the brush to end the process.

