Here is how you can share your blog posts automatically on Facebook. As most of the blogs are on WordPress platform these days, we will have a look at the process to share WordPress posts on Facebook automatically.
We all know how the giant social media platform, Facebook, has taken over the world by storm. It is considered to be the most influential social platform that engages people of almost all age groups from across the world.
In that case, there is obviously no doubt that it is also one of the best places to market your business too. Facebook is a great source of traffic for thousands of websites. So posting your blog posts on FB can be a brilliant way to gain more traffic to your site.
In today’s post, I will tell you how to share your website or blog posts on Facebook directly from your WordPress site.
How To Automatically Share On Facebook
To start with, you must know that there are a number of ways to share your posts on Facebook. But I will tell you the easiest way to do it. And that is simply by using a WordPress Plugin on your site.
Even though the process might be a bit lengthy, I can guarantee you that this process will give you more control over what you want to share and whatnot.
So let us see how you can make your newly published posts get automatically shared on social platforms like Facebook, without you having to do much about it.
Process of Posting on Facebook Autometically
The default WordPress setup doesn’t give you the option to post on Facebook or any other social media platform auto-post.
So, we will need to install a plugin to achieve that. There are a number of high-quality social media plugins these days that you can use to share your new or old content on social media sites like Facebook automatically.
Before we move ahead with the recommended plugins. I hope you know how to install a plugin on your WordPress site.
If not, here is the process.
Installing and Activating The WordPress Plugin
Installing and Activating a plugin is the simplest thing to do for all those who have been using WordPress for a while. So let me tell the newbies what exactly you need to do to install a plugin.
If you need to install a free plugin that is available on the WordPress plugin repository, you can install it right from your WordPress dashboard.
Go to WordPress dashboard >> Plugins >> Add New and search for the plugin you wish to install. Once you find it, you can click and install it.
If you are going to install a premium plugin, follow this process. You will first need to download the plugin to your computer. Go to WordPress dashboard >> Plugins >> Add New and upload the plugin zip file.
Once the plugin is uploaded you can simply activate it.
Here are the recommended plugins
Social Snap
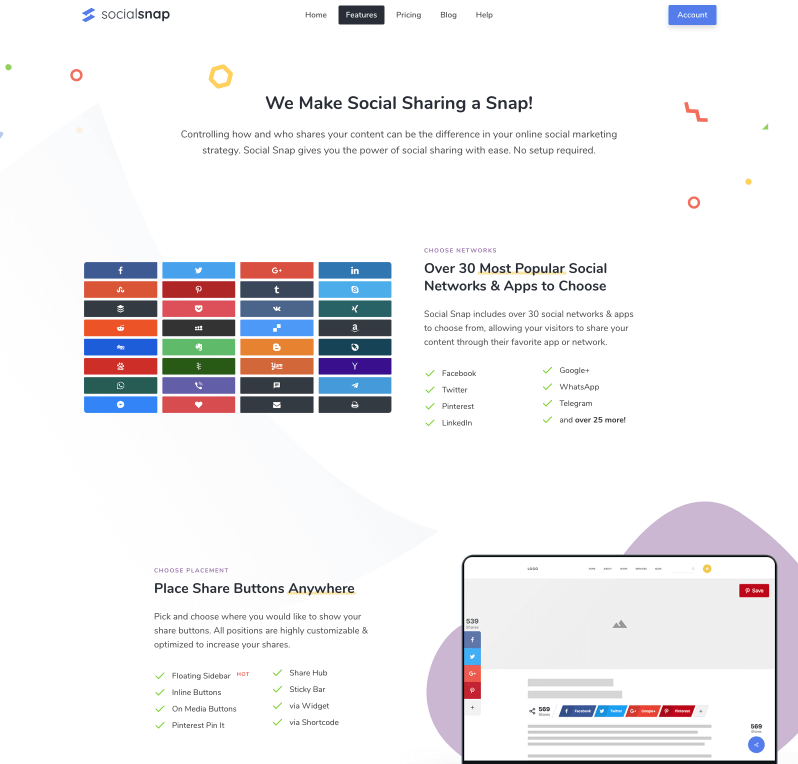
This is the best social media plugin at the moment. It is not just a plugin to auto-post your articles on Facebook, but a complete social media plugin that will do everything as far as your social media-related requirements are concerned.
Here are the top features of Social Snap
- Social sharing buttons
- Social follow buttons
- Custom button placement
- Complete customization
- Over 30 social networks to choose from
- Social login option
- Click to tweet option
- Content locker
- Auto-posting old posts
So, as you can see, you will not need another social media plugin for your WordPress site as it can effectively manage everything.
Detailed Statistics
We all know social media is very important these days. In fact, to rank a post on search engines like Google, the social signals matter. So, you must do everything to increase the social sharing of your posts.
teh Social Snap plugin gives you detailed statistics to make sure that you are aware of the overall performance of your site on social media networks.
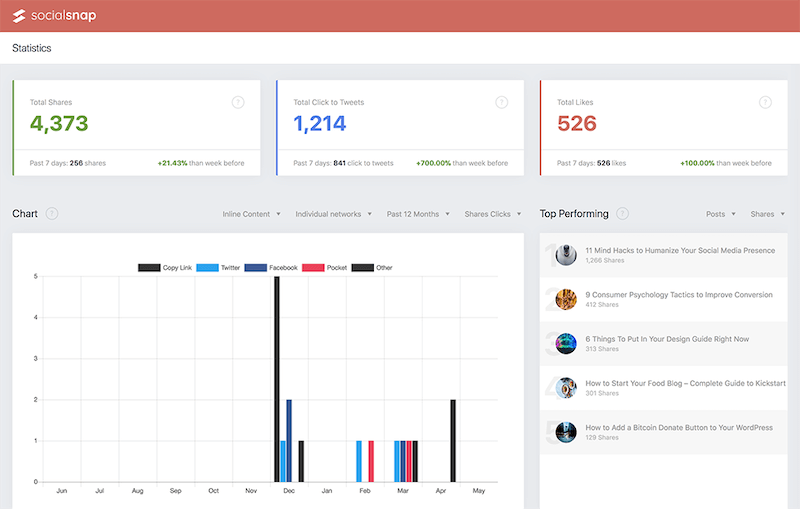
So, once you have the Social Snap plugin managing your social media process for your site becomes very easy.
Going ahead of the social media-related requirements, this plugin also gives you the option to display the page views of your blog posts along with the social sharing options.
Revive Old Post
As the name suggests, this plugin will help you to share your old posts and make sure that you get regular traffic to your posts. This plugin comes in free as well as pro version that you can select according to your need.
The pro version of the plugin will offer you the option to share your posts on social sites automatically. You can share your posts more than once and it offers you the option to even share custom post types.
IFTTT
IFTTT is a service that enables you to integrate with your favorite apps and tools. You can use it to share your new blog posts on your Facebook page amongst all the other integration options it offers.
You can create your free account on the platform and then search for your Facebook Page.
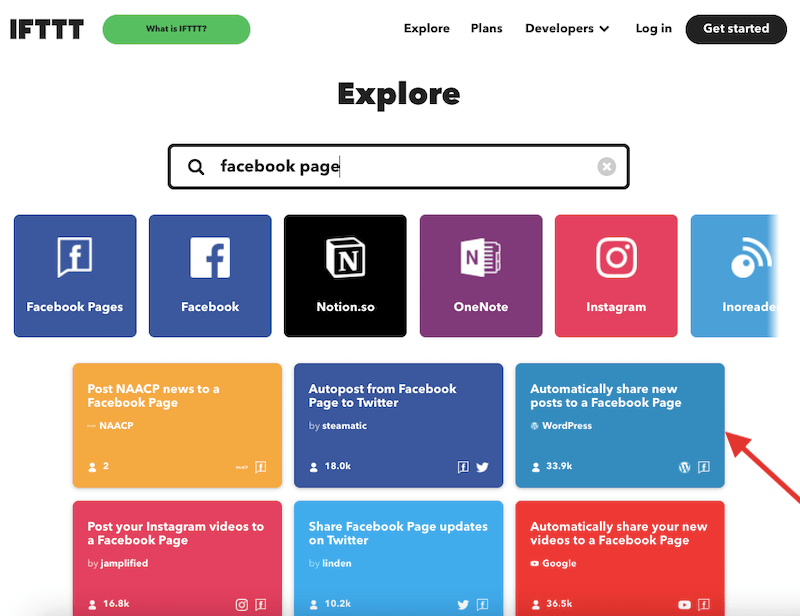
Sync Your Facebook Account
In the next step, you will get the option to sync your Facebook account with your site.
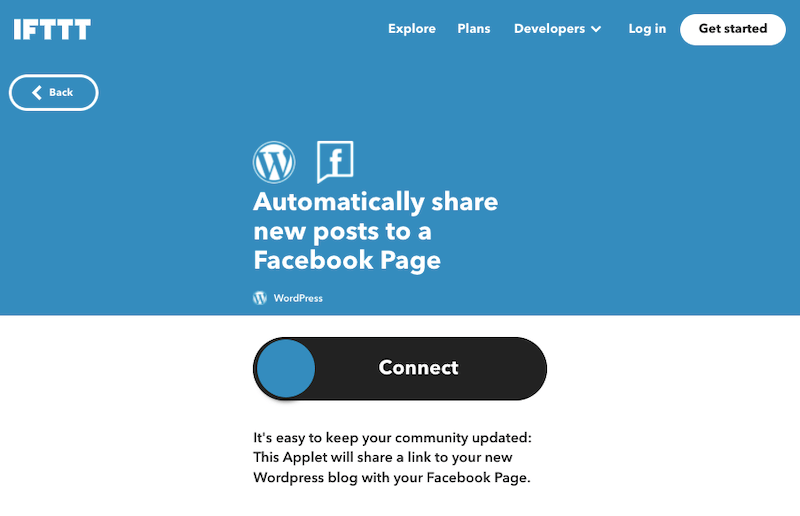
Once you fill in your Facebook credentials and connect the platform with your WordPress site, all your posts will be automatically shared as they are published.
Free Plugin: FAuto Poster
Once the plugin is activated, you will see a new menu item called AccessPress Facebook Auto Post in your admin bar. If you click on this option you will see the settings page of the plugin.
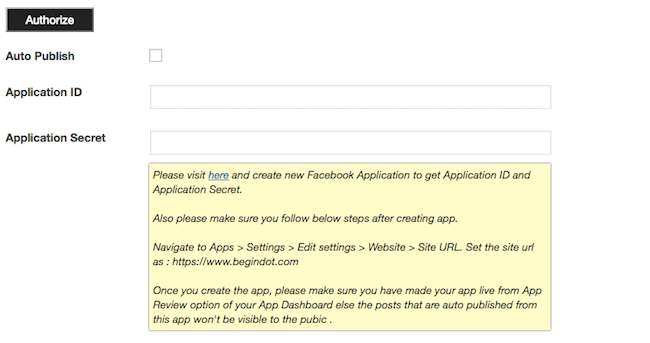
On the settings page, you will have to enter the Facebook App details, your email address, and choose a category.
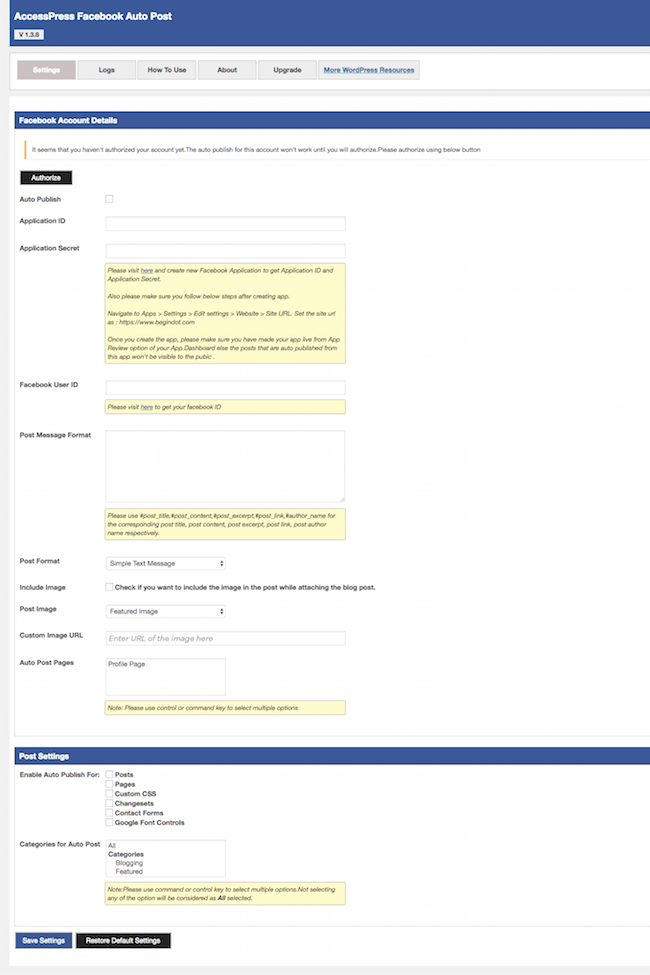
The first option called the Auto Publish needs to be checked. Doing this will help you publish your posts automatically on your Facebook page, every time you publish a new post.
Create Facebook App
Following this, you will be asked to fill in your Facebook application ID and your secret keys. Keep this information handy. You can create a new app on the FB developers website.
To create a new app, click on the Add a New App button. First, you need to select WordPress as your platform as you are creating this app to work with the WordPress plugin.
You will now be asked to enter your app display name, your email address, and choose a category. Select any category and proceed by clicking on the ‘Create App ID’ button. After doing so an app will be created for you by Facebook.
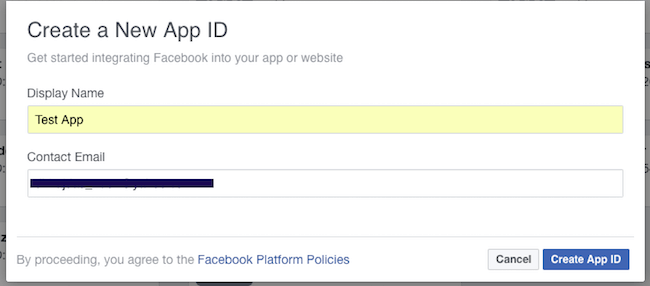
In the next step, you need to choose the platform for your app. As you are creating it for your website, you can choose WWW

In the next step, you need to add the UR Lof your site
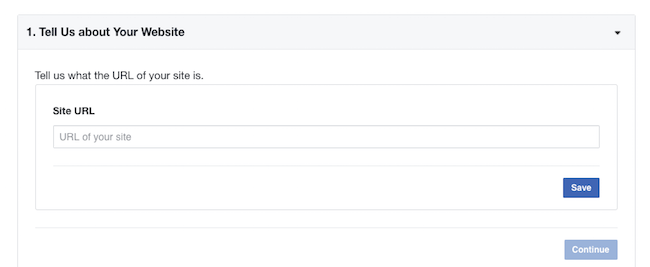
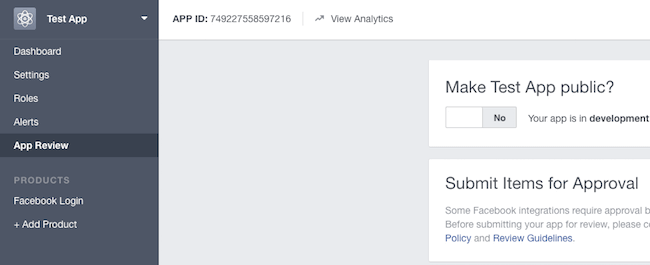
Now click on the Next button to save your settings. In the next step get set to go live by reviewing the app and clicking on the yes button to make it visible to the public.
Add App Details in The Plugin Settings
Now visit the plugin setting page where you entered the app ID in the beginning. Now check the Authorize button so it can connect to your FB account.
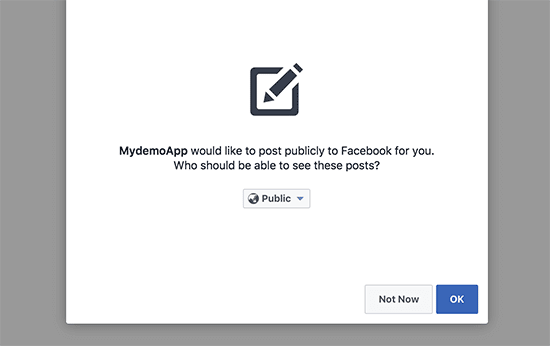
You will now be directed to your FB account seeking your permission to post publicly on your FB account. Allow it to do so by clicking on the OK button.
Once that is done, you will once again be redirected to your plugin setting page. Here you will have to add your FB account ID.
You can also select the post types that you want the plugin to share on your behalf. All of it can be found in the plugin settings only. Scroll down and see which options you want to check. Hit the Save button to save your settings.
Dlvr.it
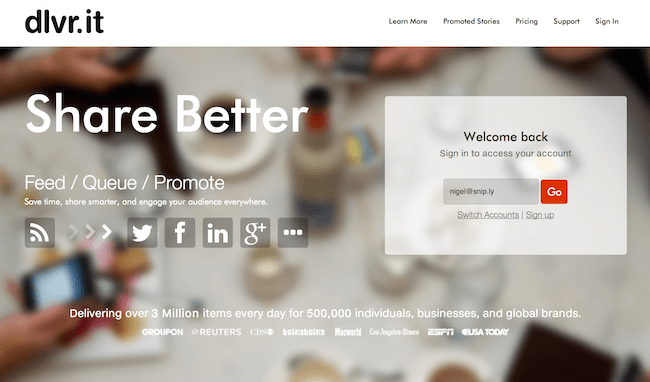
Dlvr.it is a web service to help you auto-post your content on social sites. This is not a WordPress plugin. However, it is very simple and quick to get started with this tool, you can create an account, link your social network where you wish to post and you are good to go.
If you want to look at even more options for WordPress, we have listed some of the best social media WordPress plugins here in this post.

